Game Boy Displays, Soldering And You
Tag: #retrotech
In a former life on what feels like a distant and calmer planet, I was pretty into the Game Boy Modding scene. Let's jump back in for a moment, just to see what's what. Also, it's about time I upgraded one of the first units I modded that I kept as a personal machine. Talk about procrastination.
I'll start off by saying modding your Game Boy is probably something you can do. Yep, you. At the very least, you can drop in a display that will make playing games on that old Game Boy better than it was when you first got it.
Note that this is not a step-by-step tutorial. The one on Handheld Legends' site is excellent and I cannot beat it. Besides, you know damned well I'm happier getting a ramble on because it's all about the tHe eXPeriEnCe. Whatever.
There are a few things things you will need:
- A soldering iron with a conical tip and solder. If you have never soldered before, yes you can. Learning is only hard if you don't want to do it.
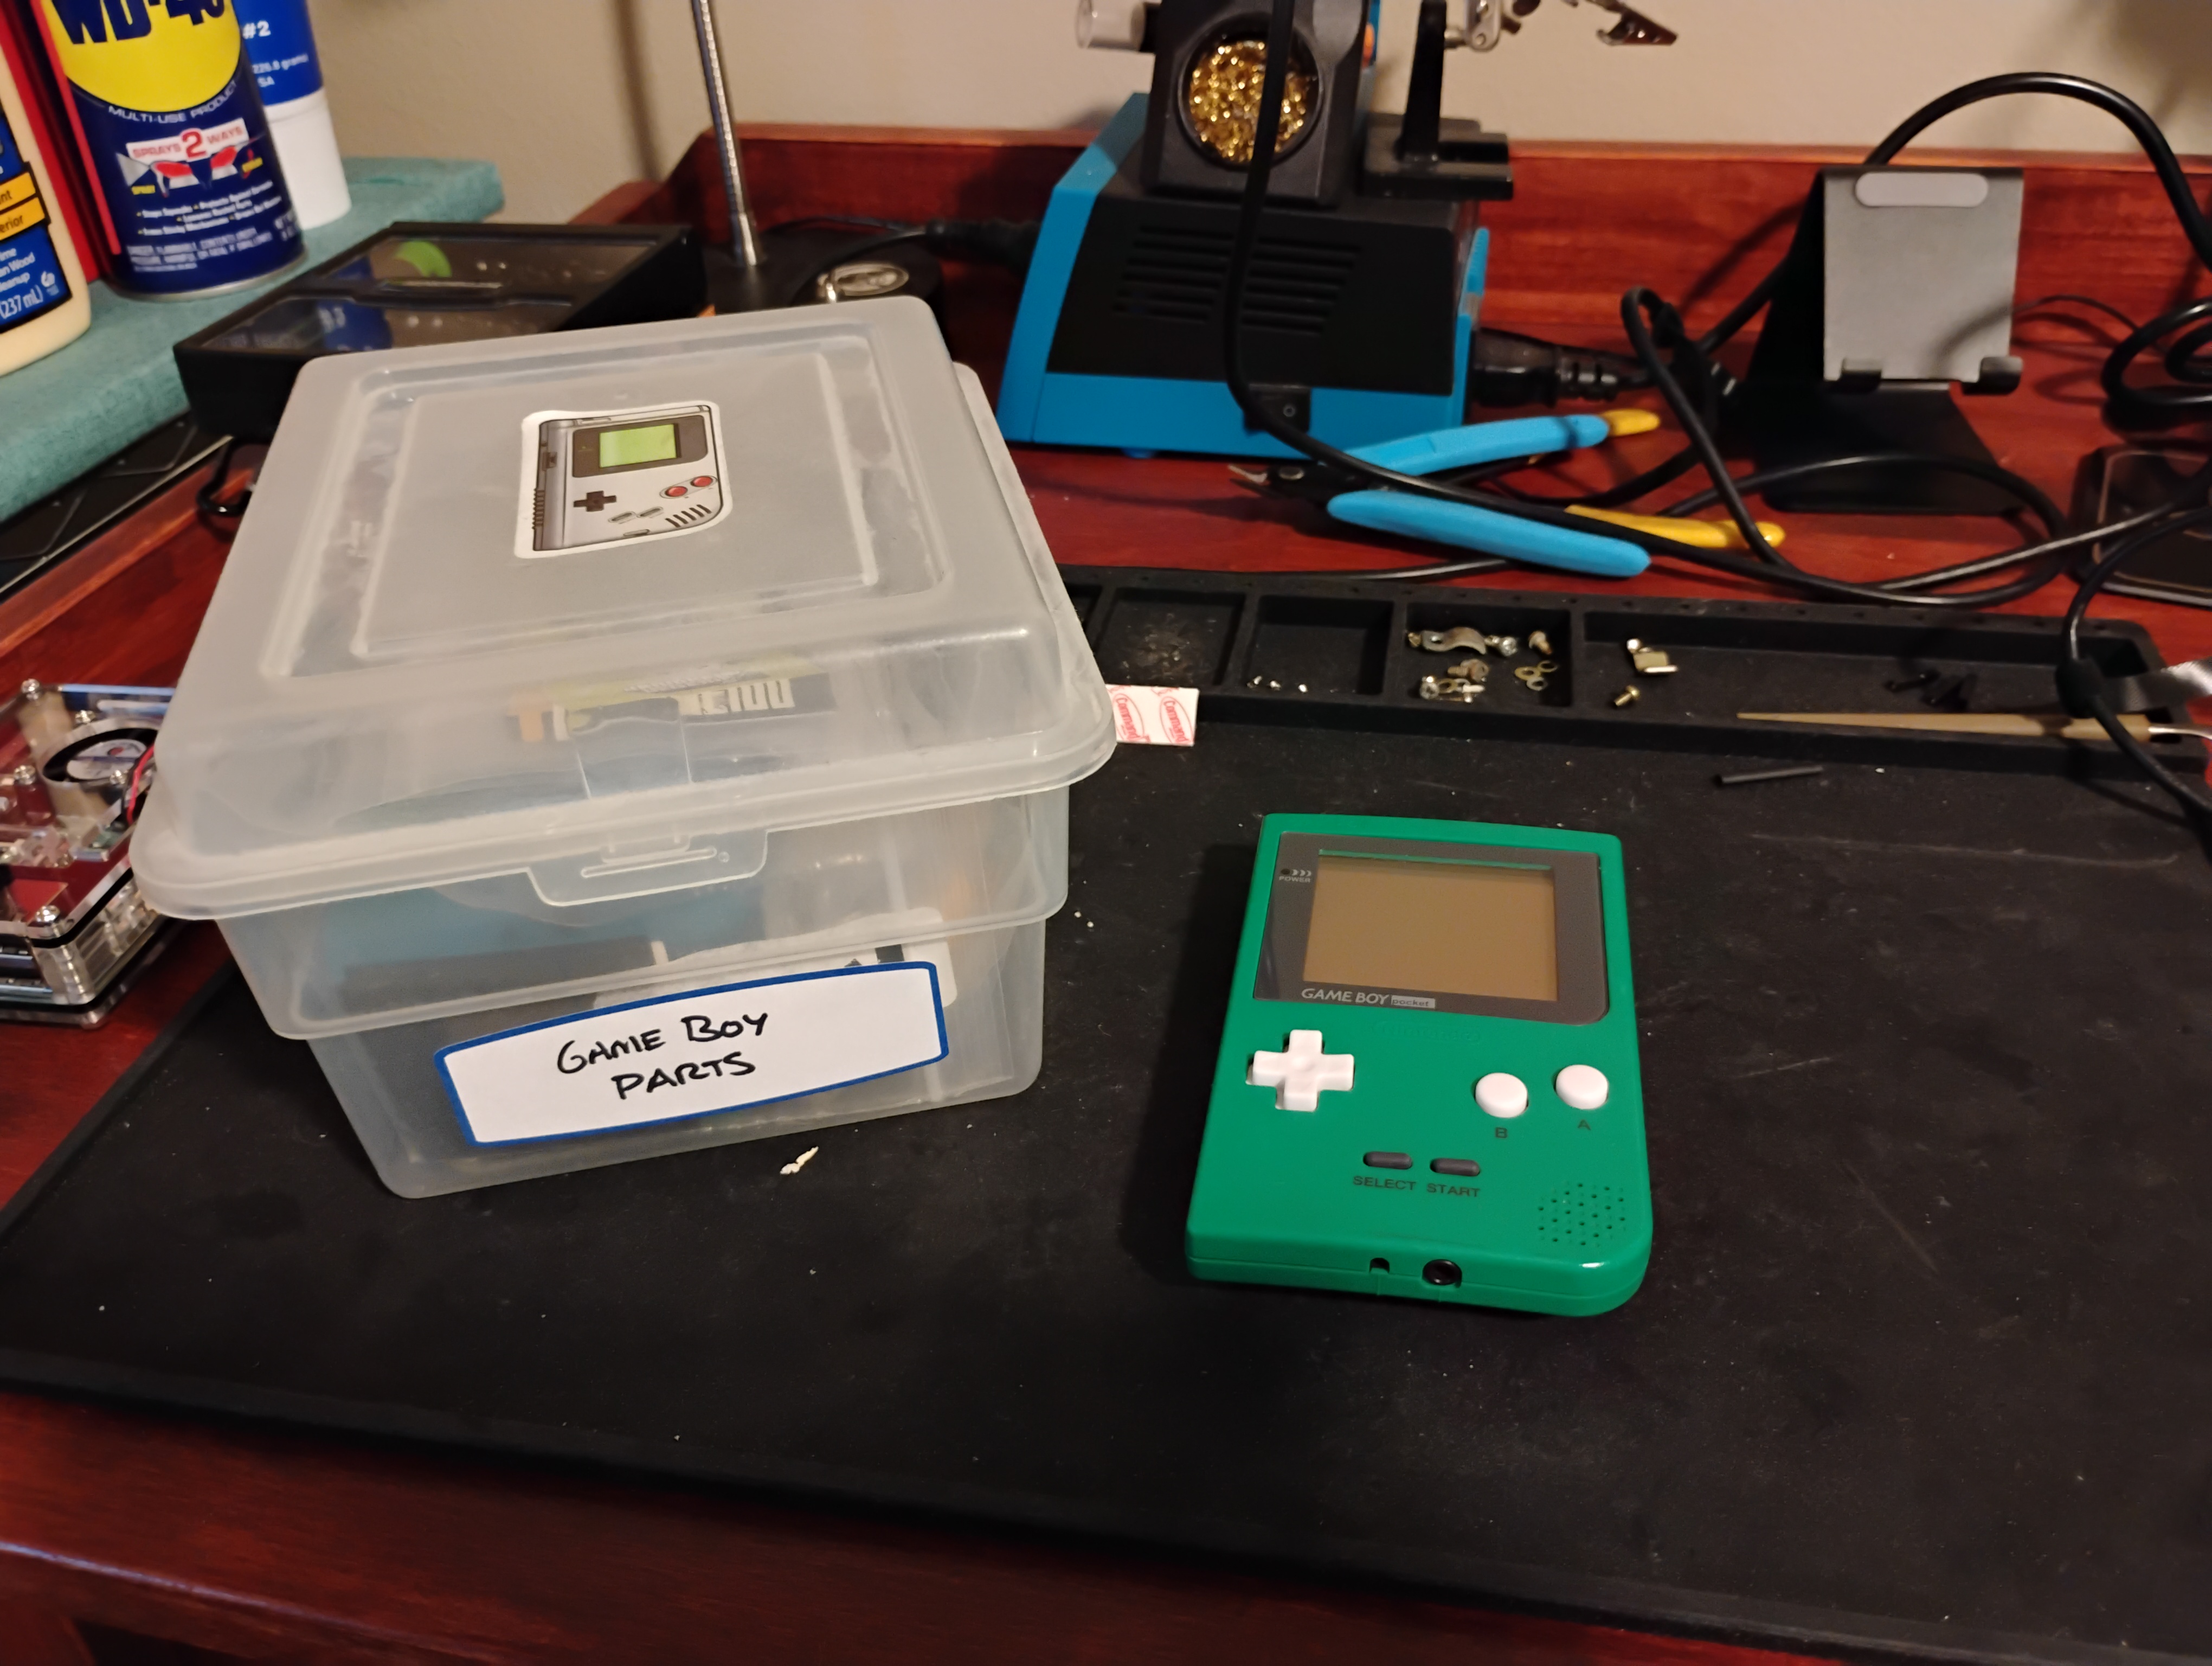
- Parts. Duh. These will include an old Game Boy that powers on and a Q5 IPS LCD Backlight Kit from Funny Playing got from Handheld Legend (linked below)
- A tri-wing screwdriver. This is a screwdriver with a special tip for Nintendo's tri-wing screws. Just add one of these screwdrivers to your cart when you order the parts from HHL.
- Optional: If you don't want to cut the plastic of your old Game Boy shell, which is more of an art than a skill, throw one of the IPS-compatible shells into your cart, too.
The only thing you can't get at Handheld Legend is the soldering iron. Yes, they do sell the Pinecil, which is more of a portable might-spot-solder-at-DEFCON iron, definitely not an iron I'd recommend for a beginner. I'll do a review on mine, eventually, because they're really not as great as everyone wanted them to be. I have a Tilswall Soldering Station on my home workbench, and it has served me very well for years while only costing a paltry $60 US for the whole getup. Bet your bippy it's linked at the bottom of the page.
Anyway, back in my day, we had to walk uphill both ways in the snow to pick up a decent Game Boy display backlight from questionable eBay sellers, only to find that a lot of them were garbage, which inevitably pushed us into distributors for parts that could trusted, like Handheld Legend. Their whole game was finding parts manufacturers that actually cared about quality and it turns out that works pretty well. Who knew. I have never been disappointed by any parts they carry and the recent order for the sake of this post was no exception. I also swear to every god out there that I am not sponsored by them, they have no clue who my nobody-ass is and I just like promoting folks I've had continuous good experiences with.
When I was selling modded Game Boys on eBay, I mostly targeted the Game Boy Pocket. A few DMGs snuck in there with the purchases of broken Pocket lots, but for the most part, I found the Pocket was the easiest and cheapest model to flip. Broken Pockets could be found for less than ten dollars US, sometimes free., or in lots that got the price down to a mere few dollars per unit. The basic Backlight Display Mod could be had for around $15 - $20 US (price has dropped since then), depending on your source and worked in both the DMG and Pocket shells without much, if any, modification to the plastic stays that kept everything inside the shell from flopping about.
The absolute worst part about the Backlight Display Mod was preparing the Game Boy's original display once you got the system apart. It was an act of clenching tedium to slowly peel back the reflective foil without cracking the display or slicing the awkward ribbon cable that connected the display to the board. I dreaded having to do ten displays in a row or something when I managed to snag a broken Game Boy lot for cheap, even though it meant that after I disassembled, scrubbed and installed the backlight, I'd be able to sell them for $60 - $80 a unit boasting preserving original parts, which many seemed to enjoy. To new-comers that want to try out that older backlight mod, I say pour yourself a drink first. It helps to have steady hands when fighting decades old adhesive with a razor blade while trying not to crack the glass it's stuck to.
If you really want to see the whole process for the old and not-recommended Backlight V3, I've linked This Does Not Compute's video in the links section. Colin is much nicer about it than I am.
There's an easier way, now.
Just as I was exiting the hobby, the gorgeous new Q5 IPS display mod was taking to the streets with a vengeance, showing us what Nintendo probably would have done in the first place if the tech at the time had been a little more refined. We did have backlit color LCD displays in the 1980's, so it wasn't all cocaine and command lines on CRTs, but they were expensive, power hungry and not as quick on the refresh rate as reflective monochrome LCDs. As much as we all might poo-poo that old Game Boy display, a reflective monochrome LCD was the smartest choice Nintendo could have made at the time if they wanted to keep the product portable on common batteries and affordable to families the world over.
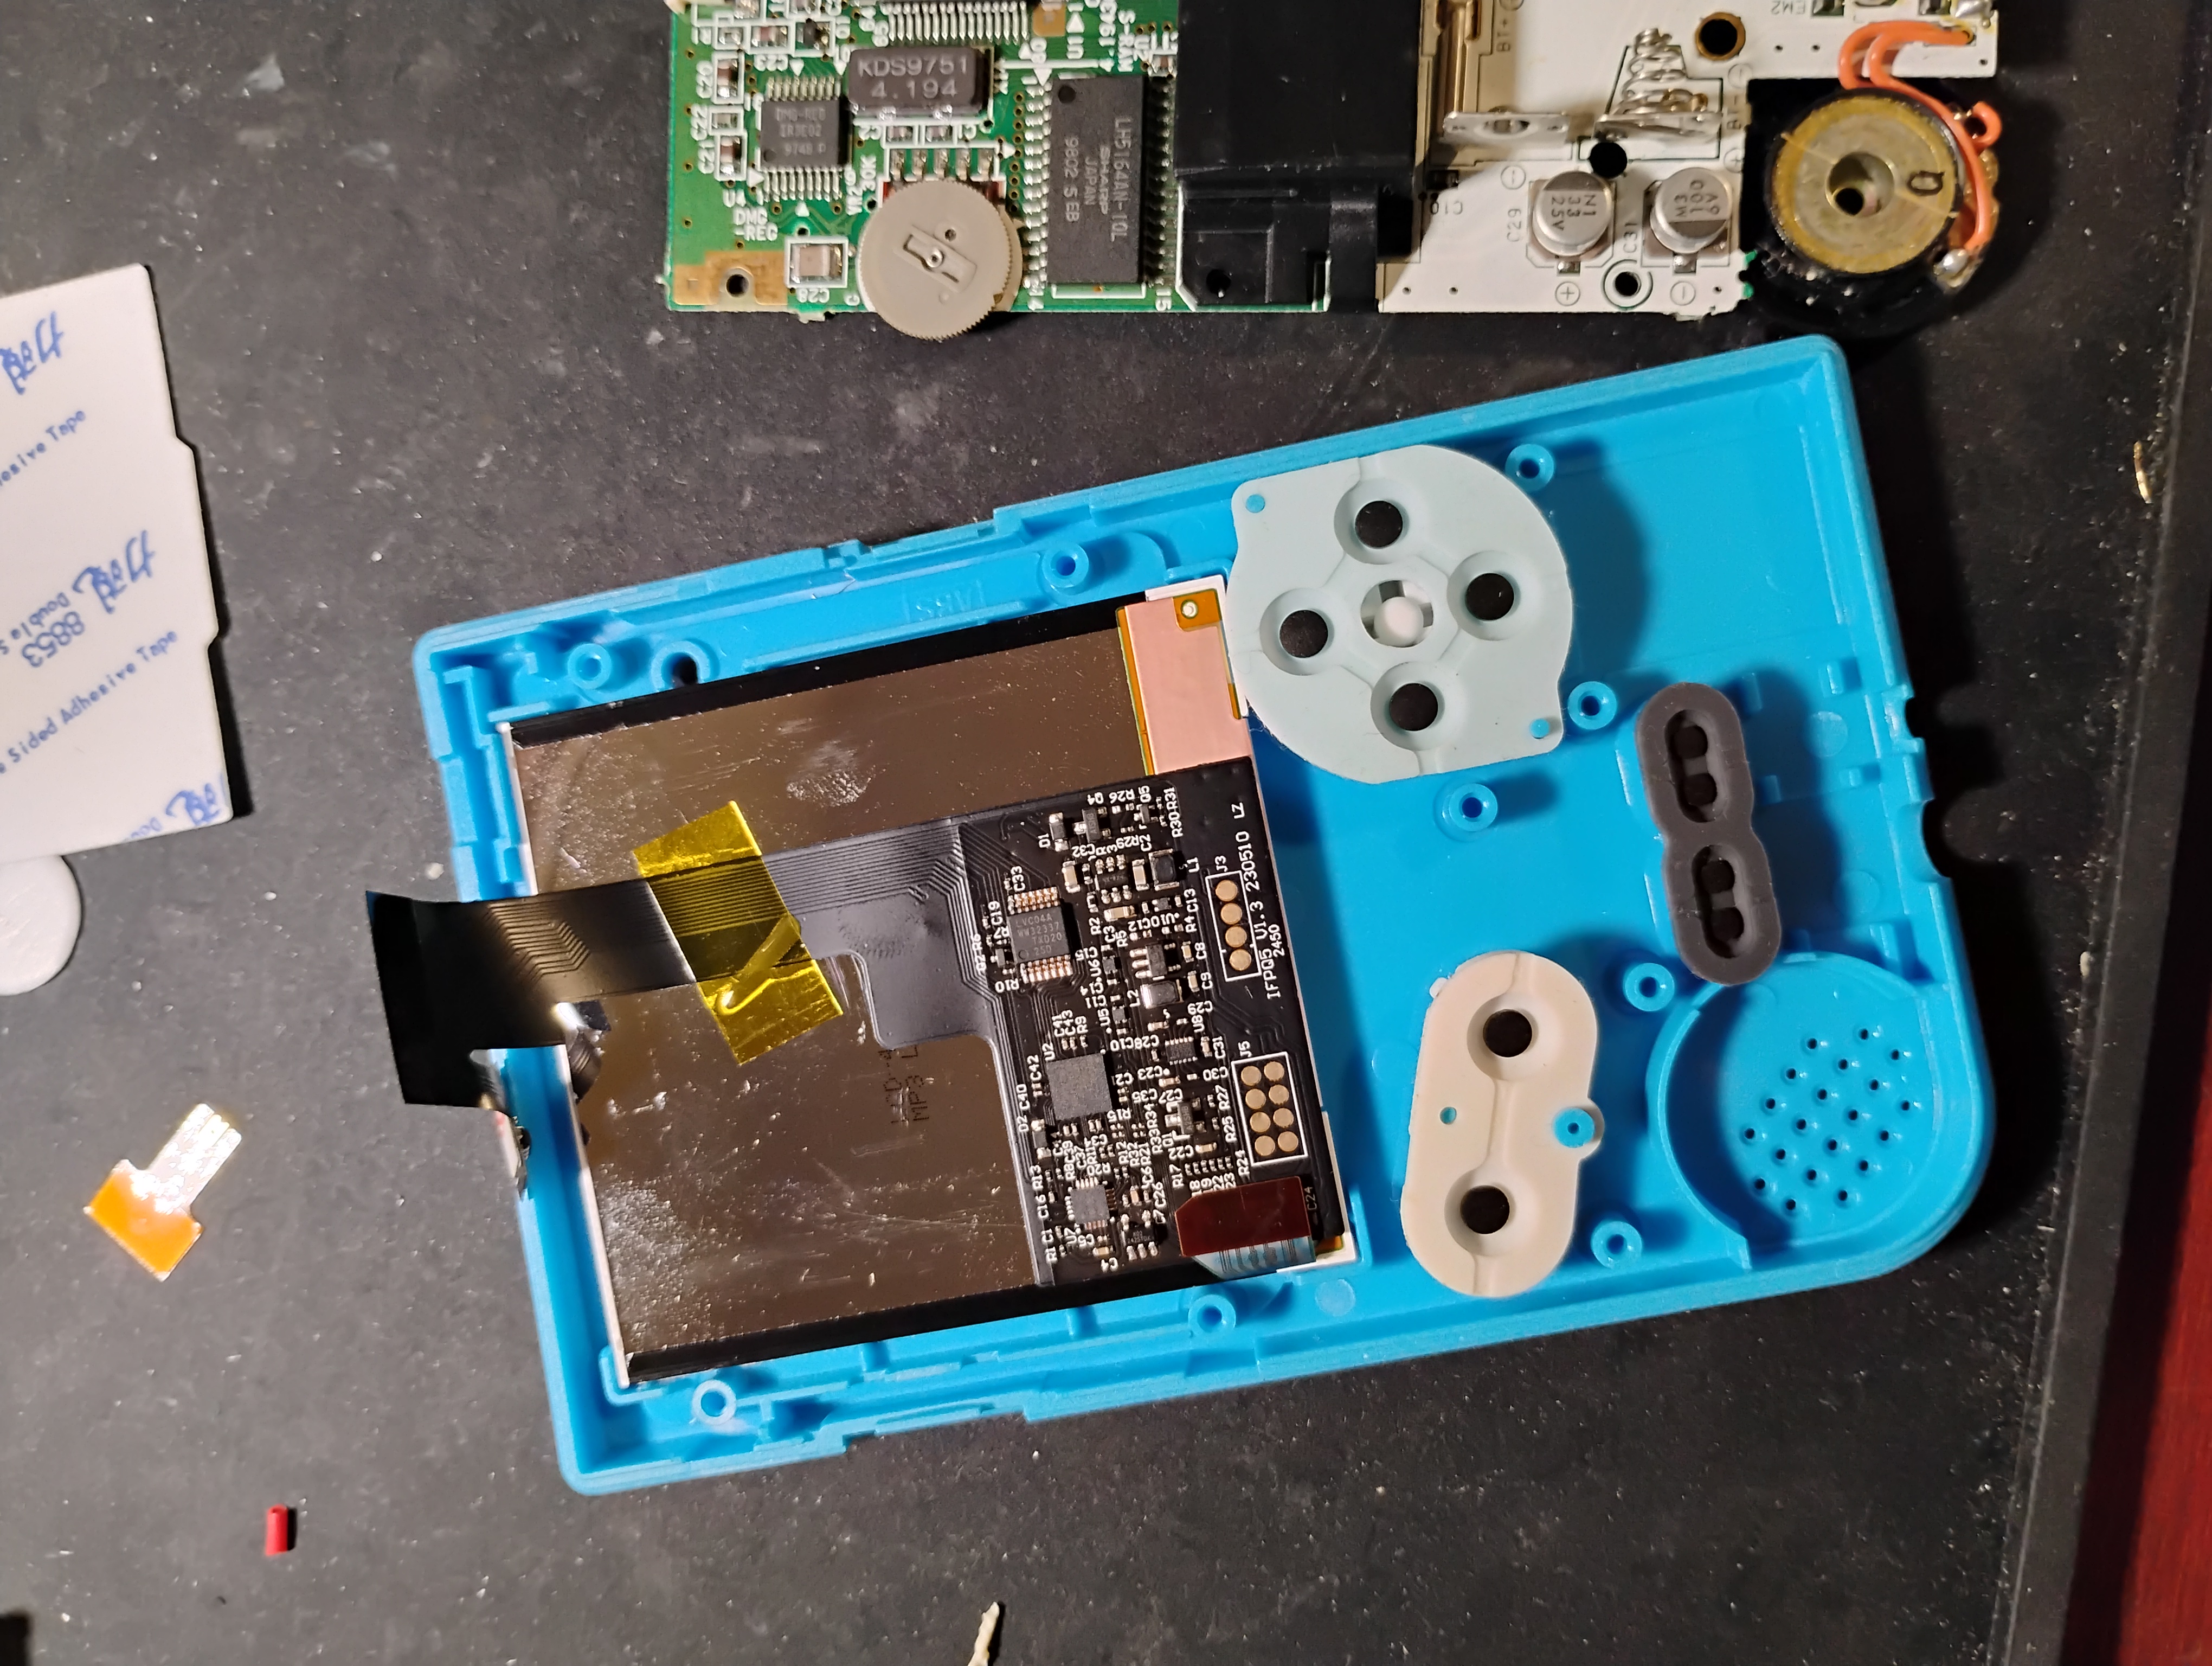
The IPS display from Funny Playing set the new standard. Suddenly everyone was modding, flipping old broken Game Boys for upwards of around $200 US on eBay. The IPS kit made it almost too easy since you no longer had to preserve the old display. You simply open the case, remove the old display, cut away some of the plastic stays in your original shell to make some space, solder a single wire and bam, you had a Game Boy with a beautiful display to experience those old game cartridges again. This is exactly the type of product we need more of; a very non-techie accessible mod for an old gadget that extends its longevity and usefulness.
However, this also caused a massive surge in the value of broken Game Boy Pockets and DMGs, making everyone in the supply chain wanting their piece of the pie, especially the ones that didn't help bake it. Gone were the days when a fiver or a decent sandwich would get you a corrosion-encrusted gross-ass-buttons Game Boy that just needed a little TLC and a bath. Now, it seems like a stroke of luck to find a non-working unit for less than $25 US, and that's if it doesn't have a burnt display, which is a significantly more tedious problem to recover, equally likely to fail as it is to succeed. With the IPS screen being a drop-in replacement, the old display could simply be taken to your nearest electronics recycling facility because that's what you're doing with old gadget things, right? Not throwing them in the trash where they end up in landfills or floating garbage islands in our beautiful oceans? Right? ಠ_ಠ

The photo shows my wife's Game Boy Pocket (right) that I dropped an IPS display in a few months ago. Next to hers sits my Game Boy Pocket (left) that still has the old Backlight V3, looking like the sad orange blur that it is. In fairness to myself, this is one of the first ones I modded, so I did not do the bivert or use the resistor to enhance the contrast control...which is apparently no longer necessary on the Backlight V3. For some reason, I was really into that orange backlight when I was modding, found it a bit easier on the eyes that most of the other colors on offer at the time. The difference is clear. Literally. And of course, it is an absolute pleasure to play on, so rather than let her have all the nice things, I had to get one for myself.
The process is so stupidly easy that even a complete beginner should not need more than an hour to do it. It took me about 12 minutes and most of that was trying to find a pair of tweezers to hold that itty bitty power wire. I also decided to not make use of the touch sensor since I don't find the diffused color change effect that interesting, but it can be hooked up later if I change my mind. For those of you who have never picked up a soldering iron, the hardest part will be the little wire. Let's talk about soldering because that's fun.
I'm going to say it again; soldering is not hard. But you can fuck it up, just like anything else worth doing. Failure is good friends with growth.
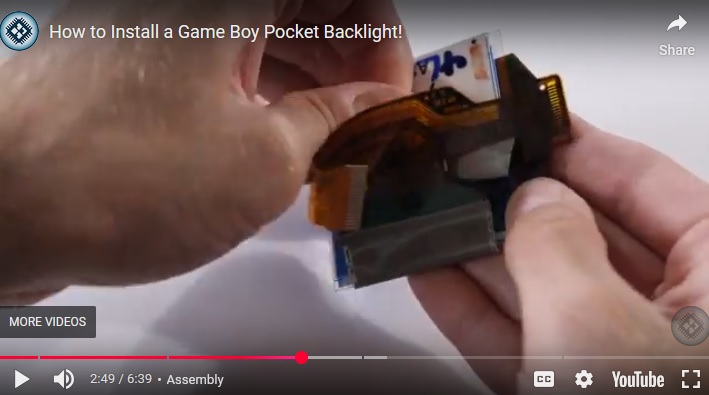
Look at this video: YouTube vid showing wires being soldered to pads
I've linked to a specific time, but right at about the 2 minute mark, you'll see soldering a wire to a pad in action. Watch how he melts a bit of solder to the pads, then touches the iron to the tinned wire and the fresh solder blob at the same time, allowing the wire to be engulfed and create contact. This is fine. I repeat, this is fine. I do this shit for a living and rocket science it ain't. For extra fun, read the comments from the ridiculous EE-wannabe wizards that act like using a soldering iron requires arcane knowledge earned only through the sacrifice of some poor lamb that was minding her own damned business til we came along and invented religion. It's hatekeepers like these that make newbies afraid to solder. Together, let's say "fuck all that noise" while I break it down for you like a normal human being.
- Get or borrow a decent soldering iron. Many local libraries have MakerSpaces, so check there if you just want to borrow one. If you do buy one, make sure it has temp control. There's a link below to a budget Tilswell station I've owned for years and use daily.
- Yes, the iron really does get that hot. I've burnt myself many times with careless situational awareness. Pay attention to your tip and grip and you will have a good time.
- Watch videos of other people soldering. I'll link a nice video tutorial by wermy below. He's been helpful to me over the years.
- The tip matters in some cases, but a conical tip (the pointy one) will be fine for most small projects like modding a Game Boy. The one I linked below comes with a variety of tips if you really want to dive into this.
- Heat BOTH components at the same time! Go watch the wermy video at about the 3 minute mark. The magic here (okay, fine, physics) is that liquid solder will flow where there is lots of heat. It's quite beautiful, really. And once you do it a few times, you learn what to watch for.
Still scared? Solder practice kits are available from all the big dumb drop-shippers, but if you want cool solder practice kits, message me on BlueSky or email. I will ask you a few questions about what your goal is and send you some appropriate links to kits I've found fun and worth learning on. Once you get one, watch wermy's tutorial a few times before you even turn on the iron.
Of course, there's so much more you can do to mod your Game Boy these days. There's a certain part of me that likes to be as close to authenticity as possible, perhaps out of some misguided nostalgic notion that I can recreate the comfort of quietly playing my Game Boy during times of stress in my childhood, so I didn't do anything save for swap the display and drop everything in a fresh shell. But if you're up for it, HHL offers other stuff, like audio amplifiers, better voltage regulators, and even the old Backlight V3 kits I mentioned earlier, if you like inducing high blood pressure to save a few bucks. Although even with the added bivert mod, the image is still shit. The only benefit to the old Backlight V3 is that it's under $10 these days. It does nothing for the image quality except light it up, since you're only adding a backlight to the existing display rather than replacing it entirely.
Hands down, the Q5 IPS Display is still the gold standard. Look at that rad display I can actually photograph properly!
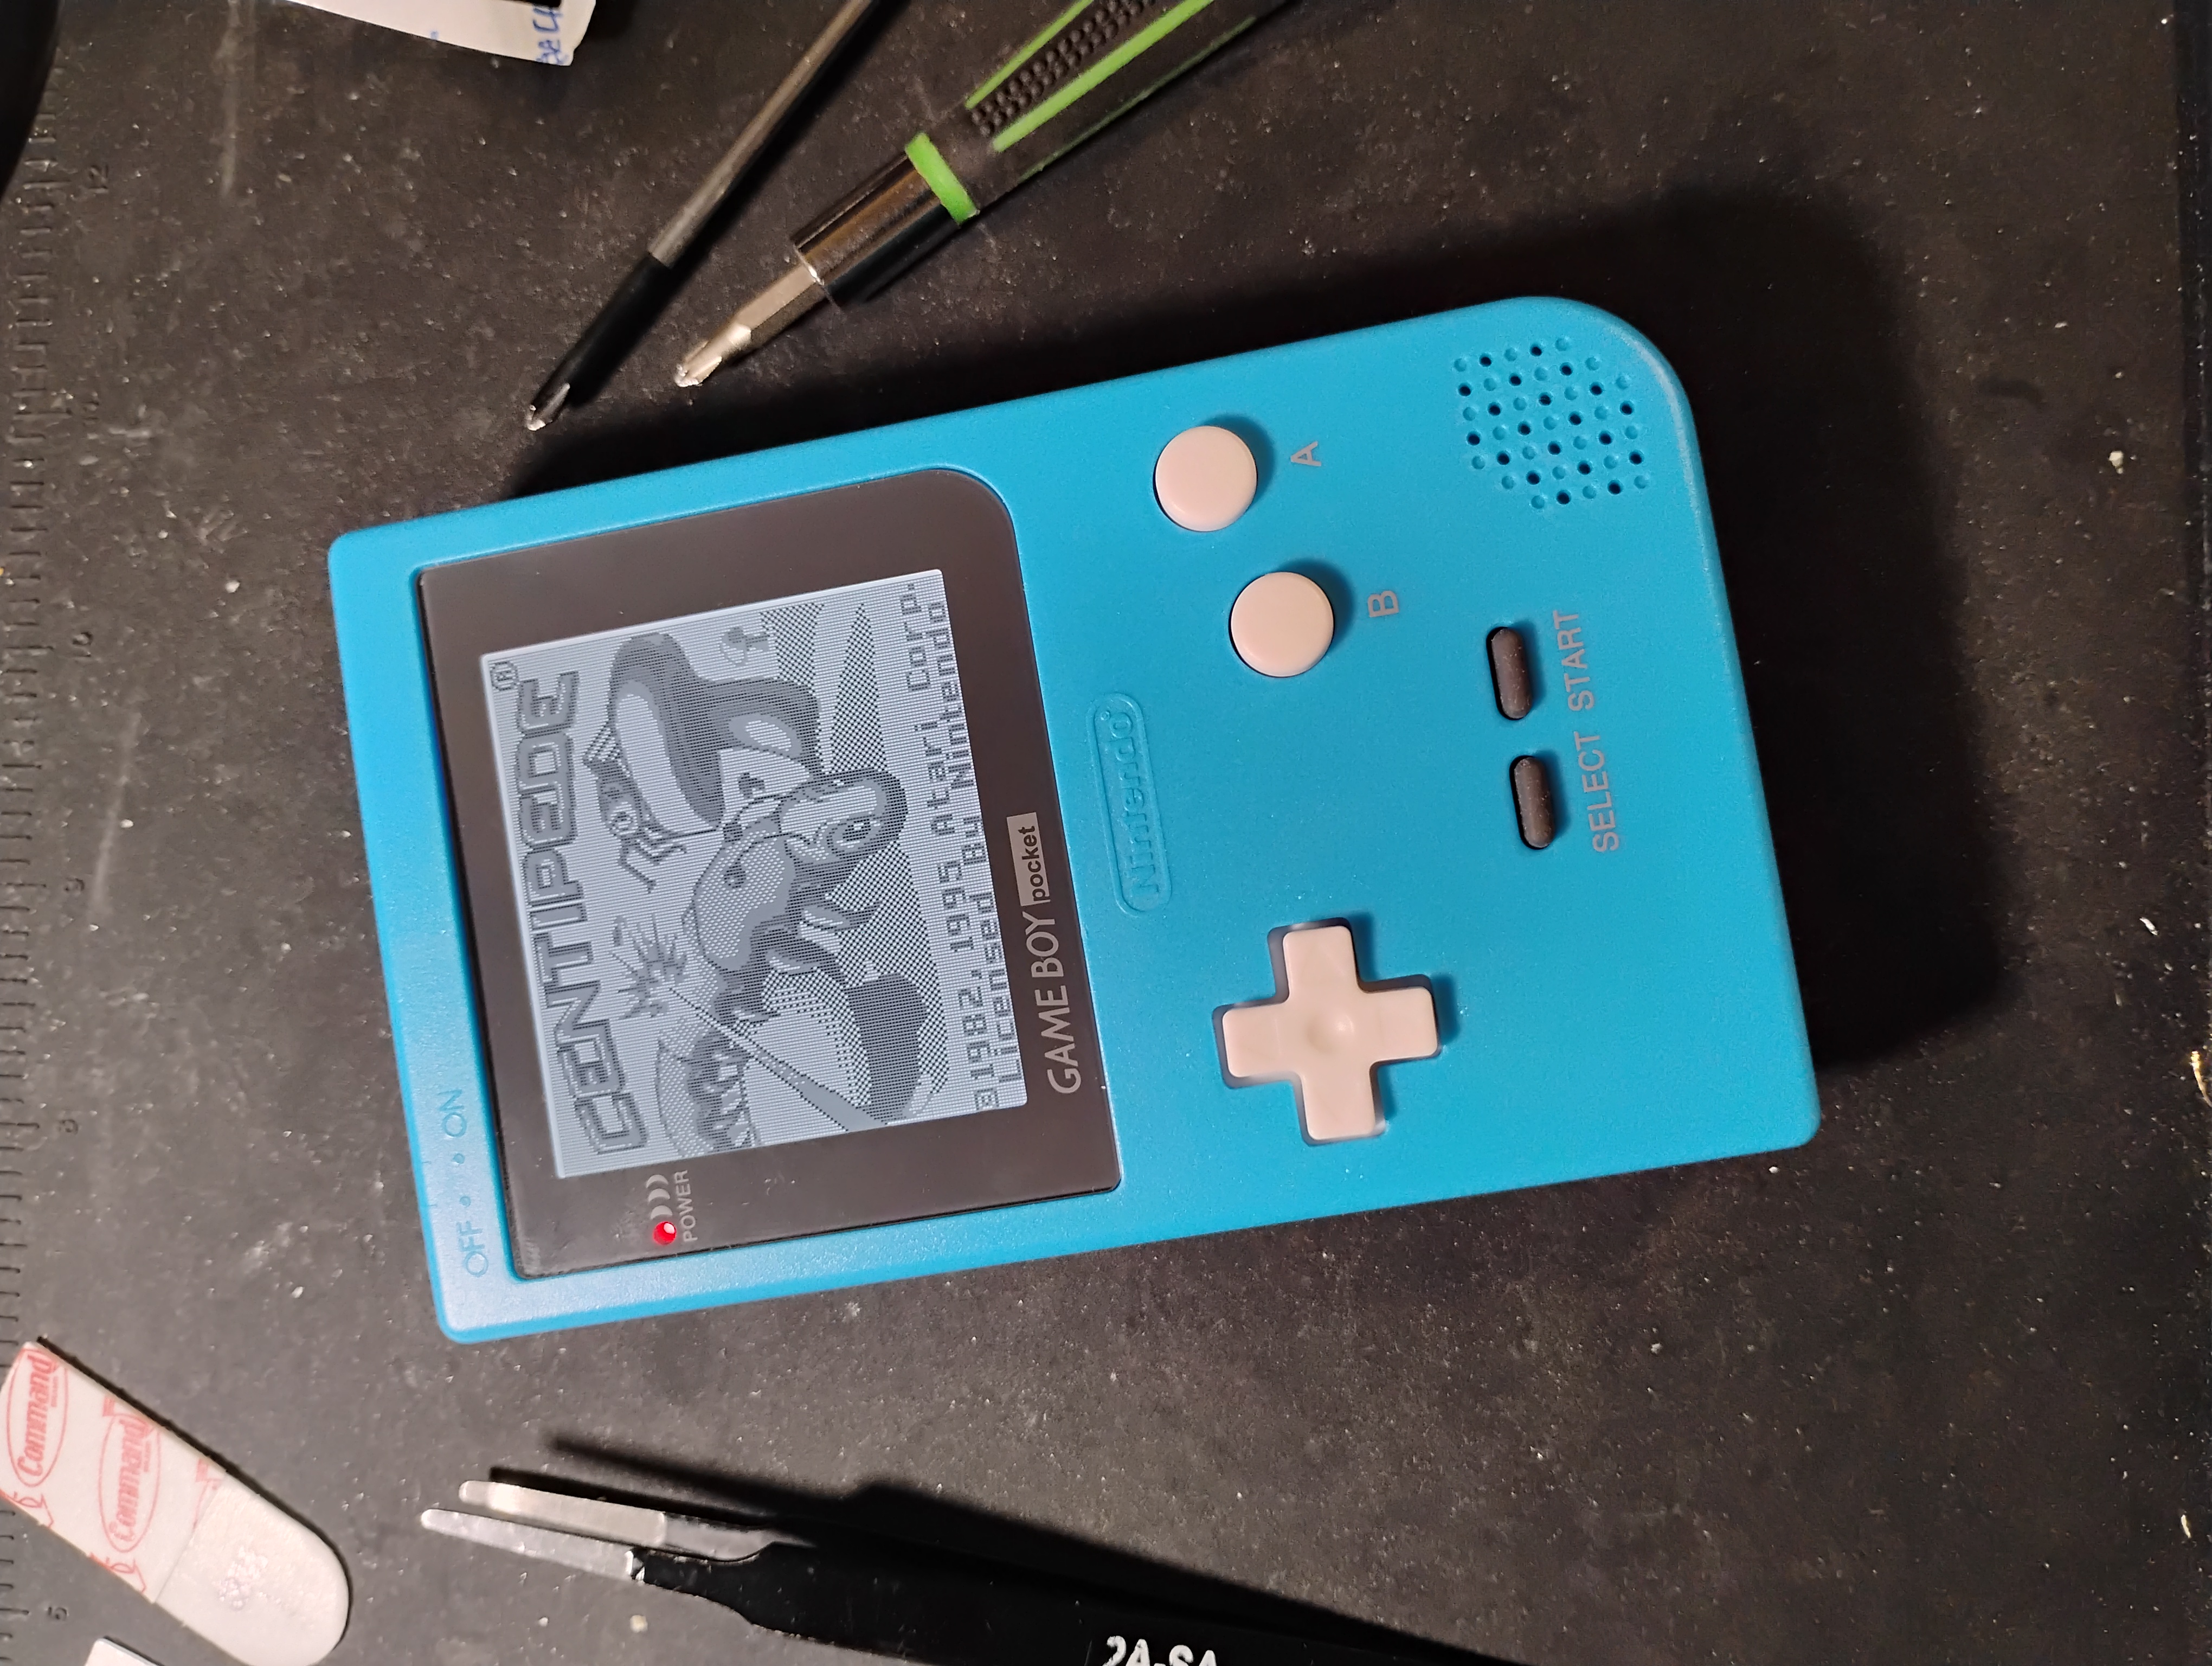
If I haven't driven home the fact that the Q5 IPS displays are superior in every way and worth every penny, then it's a good thing I'm not getting paid for this.
Now go forth, and solder.